Hot Tags
Gloss PPF Installation: A Step-By-Step Guide To Flawless Protection With HEY FILM
April 15, 2026


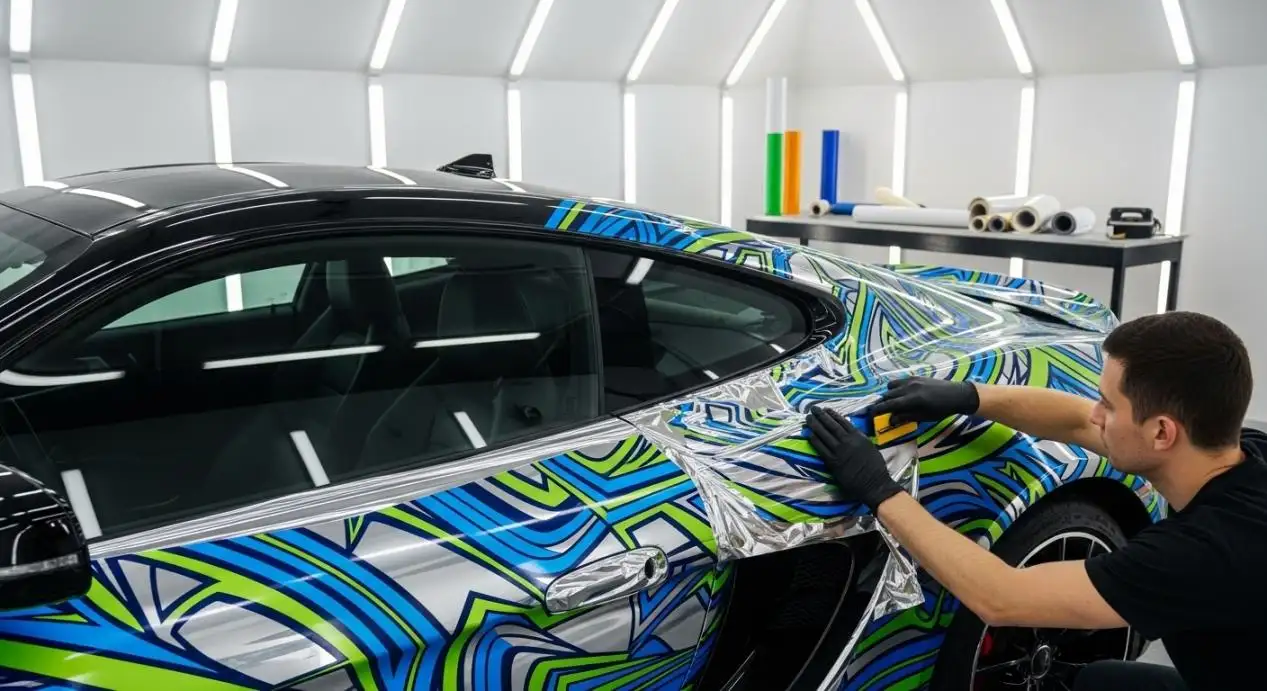
Gloss PPF installation has long been a challenge that separates skilled professionals from amateurs, but the right materials can transform that experience from frustrating to effortless. Whether you are a professional detailer, a distributor, or a fleet manager, the pressure to deliver flawless, bubble-free, high-gloss finishes has never been greater.
With the global paint protection film market projected to grow from USD 1.07 billion in 2025 to USD 1.16 billion in 2026—at a CAGR of 7.41%—demand for reliable, installer-friendly gloss PPF installation is surging across every region. As a manufacturer of paint protection films, HEY FILM has designed products to meet this challenge. Below is a guide to the professional installation of gloss PPF utilizing HEY FILM's revolutionary TPU technology.
Step 1: Preparing the Vehicle and the Work Area
The gloss PPF installation process starts with a well-prepared surface. Dirt, dust, and grease are sealed along with the paint and will show through as defects that can never be corrected. Start by washing the entire vehicle with a pH balanced automotive shampoo and a microfiber mitt. Pay close attention to the area around wheel wells, door jambs, and lower body panels. These areas tend to collect contaminants. After washing, make sure to do a clay bar treatment. This will help to eliminate other embedded particulates like industrial fallout, tar, and tree sap, which a wash will not remove. Once the surface has been thoroughly cleaned use a solvent like isopropyl alcohol to remove the last traces of wax, sealants, and oils.
• Work Area: Work in a well-lit dust free area with a good temperature control. The optimum temperature for the best performance of the adhesives is between 60°F and 80°F (15°C–27°C).
• Perfect Surface: Every paint imperfection will be magnified by the gloss PPF so make sure every surface is perfect before applying.
• Protect Against Contamination: Throughout the process be sure to use clean nitrile gloves. This will make sure that oils and fingerprints don't transfer to the adhesive side of the film.
Step 2: Measure, Cut, and Prepare the Film
Your vehicle preparation starts with the latest installation steps: preparing the film. If you are doing bulk installations, you will need to measure the panel one at a time. When doing your measurements, be sure to add 2-3 inches to each dimension so you have room to trim and edge wrap. HEY FILM gloss PPF has a premium TPU construction. This film has a thickness of 7.5 mil and 90% visual light transmittance and gives you flexibility and strength. This construction balances a stiff film and a thin construction. You will find PPF that has a lower film construction if you are looking for a film with lower impact resistance.
• Precision Cutting: You will need a clean cutting, sharp utility knife, and a rigid mat for the best, most precise, unfrayed edges. This will help cut straight lines so you won't have to worry about the edge lifting premature.
• CAD Templates: If you need, CAD or pre-cut design templates can speed up accurate installation for intricate models.
• Solution Preparation: Have a labeled spray container ready with a slip solution (distilled water and a few drops of baby shampoo) for your spray solution. Alternatively, you can use dedicated PPF installation fluid.
Step 3: Apply the Slip Solution and Position the Film
Spraying slip solution is part of the process before actually laying the film down. Generously spray slip solution on the vehicle panel and the film's adhesive side. This solution creates a floating layer of slip solution so that the film is free to slide on the surface and provides the flexibility to achieve the desired repositioning. Then, from one of the ends, gently hover the film down on the panel. Try to use body lines, panel gaps, emblems, etc. to guide the straight sourcing of the film.
• Repositioning Advantage: Misaligned panels waste materials, HEYFILM has developed a new pressure-sensitive adhesive system that has a strong initial tack and can stick without being damage during adjusting and repositioning during the initial placement phase. This greatly reduces the waste potential from panels being installed, and later found, to be out of alignment.
• Alignment Patience: Positioning the panels may require some additional time. After the slip solution has started to dry and the adhesive has begun to set, adjusting the panels later may be a lot more difficult.
• Work In Sections: It is recommended, especially for larger sections like hoods and roofs, to section the areas down into smaller sections to make working with the film more manageable.
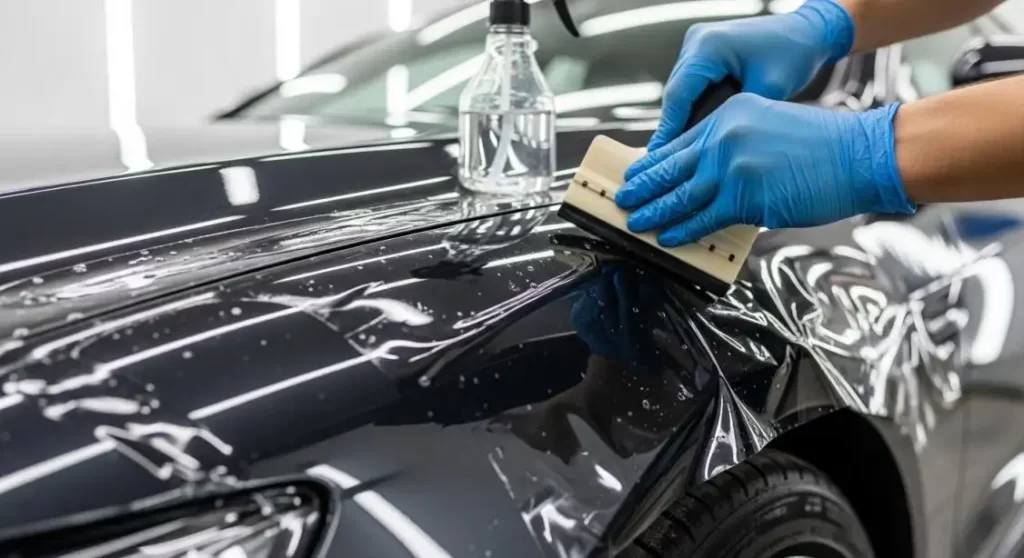
Step 4: Squeegee the Film and Remove Bubbles
At this time, the film should be properly positioned, and to ensure the film remains there, the slip solution and trapped air must be removed. Start from the center and work in an outward direction. For smooth and even pressure, use a soft edge squeegee and begin pulling and over lapping your strokes. Squeegeeing will also help the adhesive bond to the paint surface and push some of the slip solution to the edges. For any trapped air bubbles, use a pin to pop them. Then, squeegee any trapped air to the hole to help relieve the pressure.
• For Consistent Pressure: Do not be overly forceful as this can cause the film to stretch and alter its optical clarity. HEY • FILM's 7.5mil formulation has been created to ensure dimensional stability at the appropriate pressure.
• Edge Focus: Make sure the edges and corners are well squeegeed as to not leave moisture or air behind. Trapped moisture can lead to hazing or premature adhesive failure.
• Squeegee Maintenance: Use a microfiber towel to frequently wipe the squeegee blade. This will avoid the solution that is being removed, from being redistributed back onto the surface of the film.
Step 5: Heat, Stretch, and Conform Around Curves
Film Wraps for vehicles must stretch to cover deep curves and contours, and tight recesses. This gives the film a heat gun purpose. When extra stretch is needed, gently warm the film, while being careful to keep the heat gun moving and use it from a reasonable distance. Heat activates the TPU's thermoplastic properties, allowing the film to stretch around and conform to a curve without cracking and losing self-healing properties. Use a squeegee or your fingers to tuck the film into the gaps of the panel, around seal edges, and door gaps for a fully wrapped and seamless look.
• Temperature Control: Heat is to avoided, but can actually cause damage to film but in a gradual and careful heat application, properties can actually be enhanced. As you apply heat, check frequently, and be careful to not apply heat to the film too quickly.
• Stretch Caution: Strategically stretch the film when needed. Extremes in stretching may cause edges to lift and distortion.
• Self Healing: Surface damage caused by the installation tools may be repaired with heat in the order of self-healing properties. Minor blemishes may be eliminated while heating, stretching and conforming the film around the curves.
Step 6: Final Inspection and Trimming the Film Edges
This is the last stage of customizing the film dimensions and ensuring there are no bubbles or moisture entrapment behind the film. A clean trim is required for the best visual results. A utility or precision knife works best for trimming near seams, focus the blade on the seam and not the vehicle paint, avoid contact with the paint. When trimming a wraparound edge, leave a little more film to go behind the panel to secure it.
• Cut Quality: A clean cut with a sharp blade provides a better seal with less opportunity for dirt to gather. PPF film will show dirt and a dull blade results in jagged, lifted edges. Redo cuts often with new blades for a better look.
• Edge Sealing: After trimming, use a tack solution or a slightly more concentrated slip mix on the edges to help lock the film in place and prevent premature edge lifting.
• Double-Check Alignment: Inspect all edges and corners for any lifted sections, trapped moisture, or visible contaminants before calling the installation complete.
Step 7: Final Inspection and Curing Phase
Once you've done the gloss PPF installation, look over everything carefully and perform a final inspection with lights at the right angles. Examine all of the air bubbles, wrinkles, misalignments, and debris that may be trapped under the film. Minor bubbles can often be fixed with heat and a few more squeegee strokes. After doing this, the last step is to let the vehicle cure for 12-24 hours before subjecting it to outdoor conditions, high-speed driving, or washing. It is best to keep the vehicle indoors to let the adhesive cure and strengthen it's bond, while moisture trapped at the edges will evaporate
•Post Installation Care: Customers should refrain from washing the vehicle for the first 7 days then ensure to use pH-neutral car shampoos for washing the vehicle.
•Warranty Confident: HEY FILM gloss PPF is anti-yellowing, self-healing, and corrosion resistent, guaranteed by the CE and ASTM D523 certifications, so we stand by this product.
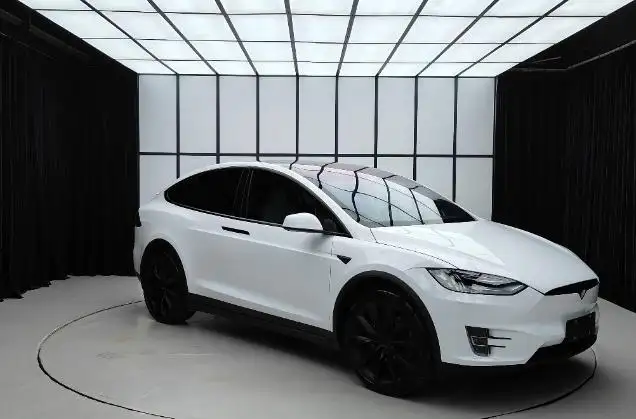
•Long-Term Value: HEY FILM gloss PPF will maintain the vehicles original paint and increase the resell quality while also providing a showroom gloss for many years.
Why HEY FILM Is the Best Option for Your Gloss PPF Installation
As PPF Technology improves, the most value-adding partnerships for a shop become the ones where they can incorporate ease-of-use technologies along with performance optimizations into their products. HEY FILM utilizes premium grade TPU, installer-friendly, pressure-sensitive adhesives, self-healing technologies, and various thickness rigidity options. This combination allows you to serve a market with an increased level of competition. Whether you staff the PPF needs of the daily drivers, luxury vehicles, or the burgeoning electric vehicle verticals, HEY FILM provides the consistency and quality to enhance the customer retention and acquisition.
Are you prepared to enhance your gloss PPF installation options? Engage with HEY FILM to obtain samples, to assess custom market-based color and thickness options, or to obtain bulk pricing.