


Hot Tags
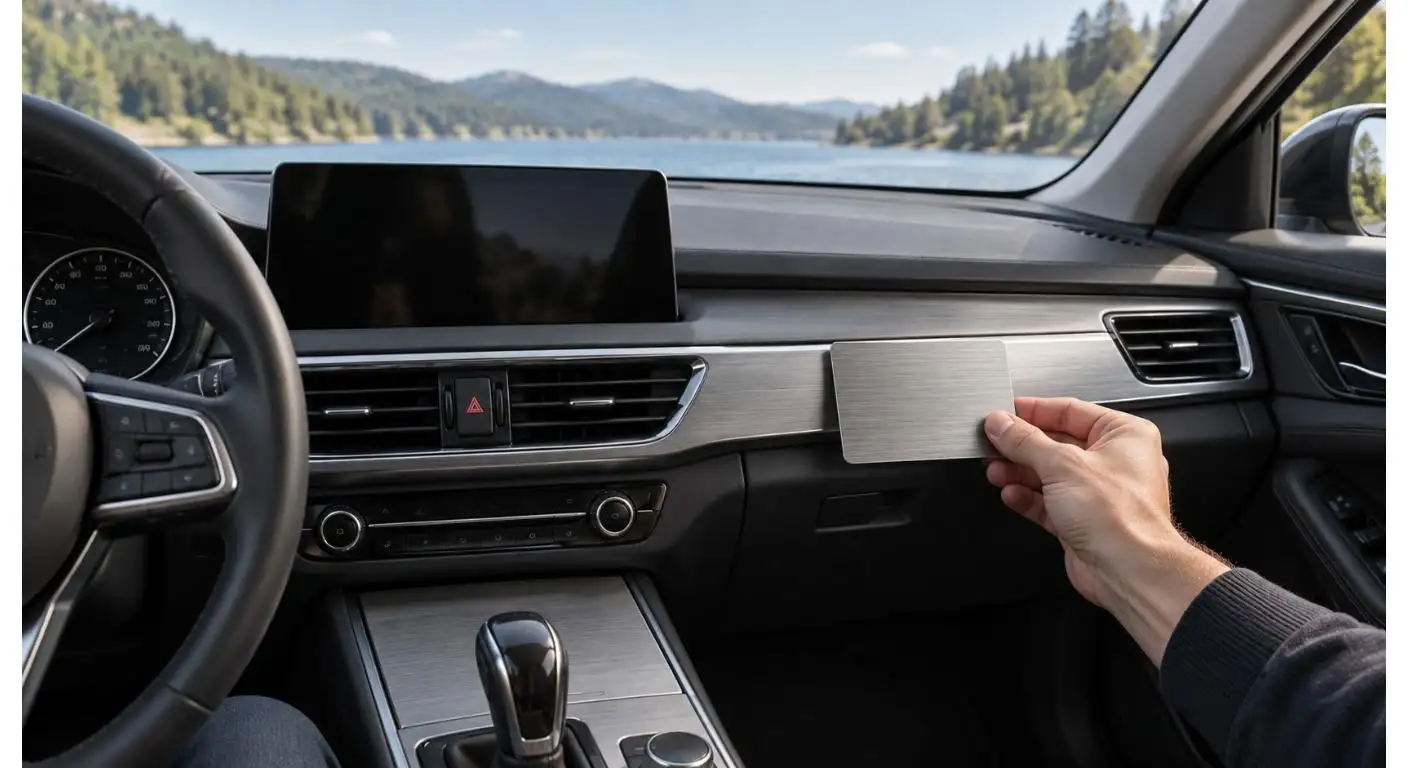
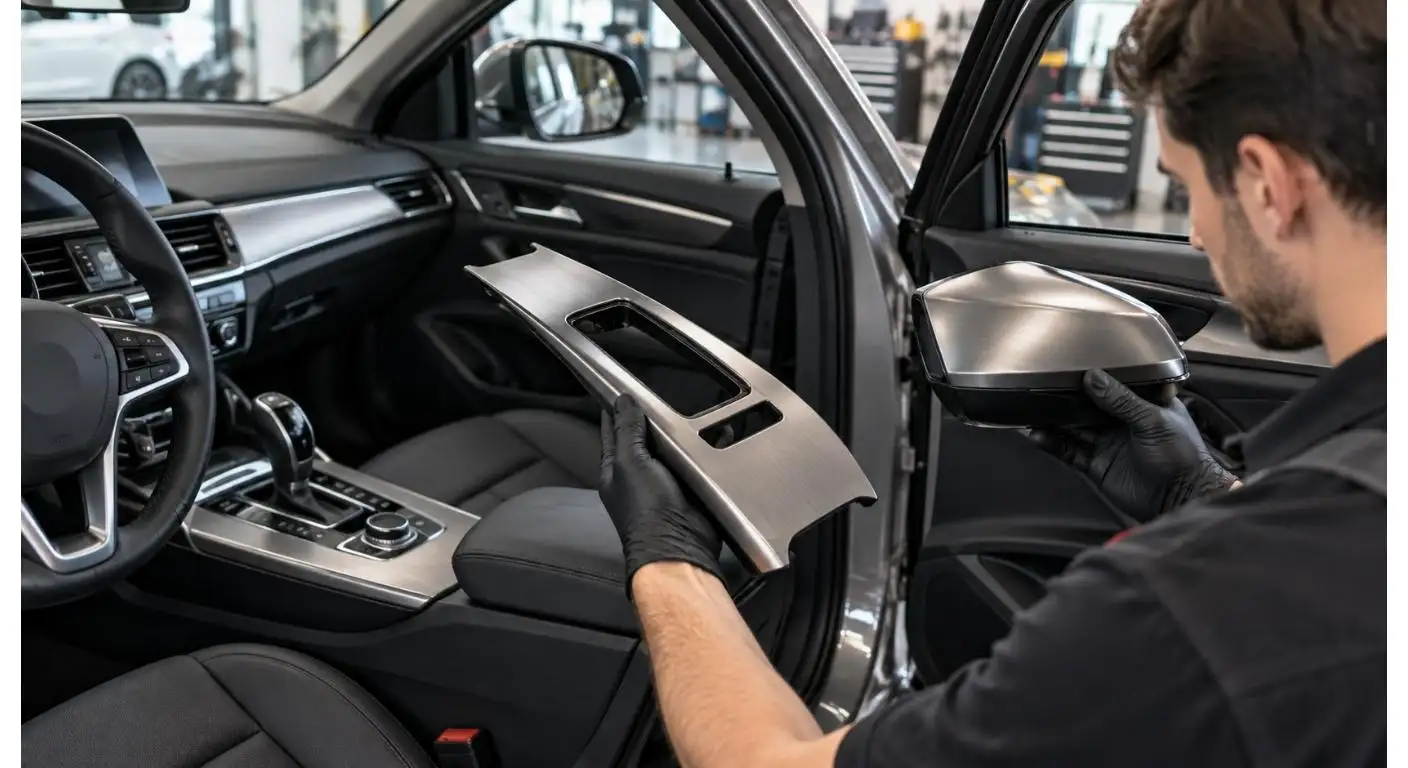
Car Wrap Designs: From First Idea to Approved Vehicle Layout
October 16, 2026


A concept can be created from a picture of a wrapped car but it can be entirely different on another car. It is different because of the body lines, the windows, wheel color and original paint.
For car wrap owners and wrap studios, the helpful car wrap designs start with a visual concept and finish with a plan that can be explained to the installer. The aim is to transition from the saved images towards a specific design, material sample and an approved look of the actual car.
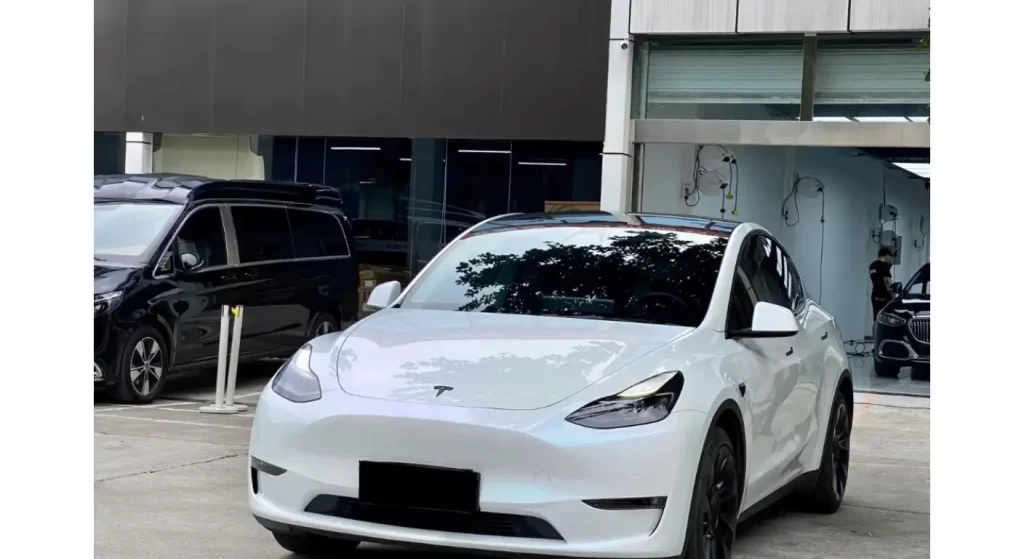
To begin with, one visual goal.
Determine which elements should be first in focus. This can be a simple colour shift, a contrasting roof, a shoulder high accent or a simple graphic.
Use simple words to portray the impression you want to make: understated, technical, playful or bold. Have three pictures that say the same thing, not 20 random faves.
When the vehicle is emblazoned with brand graphics, as H.E.Y. FILM's guide to business car wraps and custom design suggests, there is a related perspective.
Use the Car's Shape Set the Layout.
Make images of the actual car from both sides, front, rear and three quarter angles. What works on one type of vehicle may not work on another, particularly if the proportions are different, like the case with a coupe versus a tall SUV. Elements such as door handles, wheel arches, fuel doors, sensors and trim breaks can break up a graphic that looks flawless in a flat mock-up.
To the extent that they uphold the concept, use natural panel boundaries. A contrasting roof can edge out at existing roof edges, and a side accent can be aligned along a shoulder line and not cross it at an arbitrary angle. Think about how the design will be terminated with door openings and whether the original paint will be an element of the design.
Early request that the designer determine the most difficult surfaces. Complex bumper with detailed motif can be distorted or need to be seamed. The right design reacts towards the vehicle as opposed to as a blank rectangle.
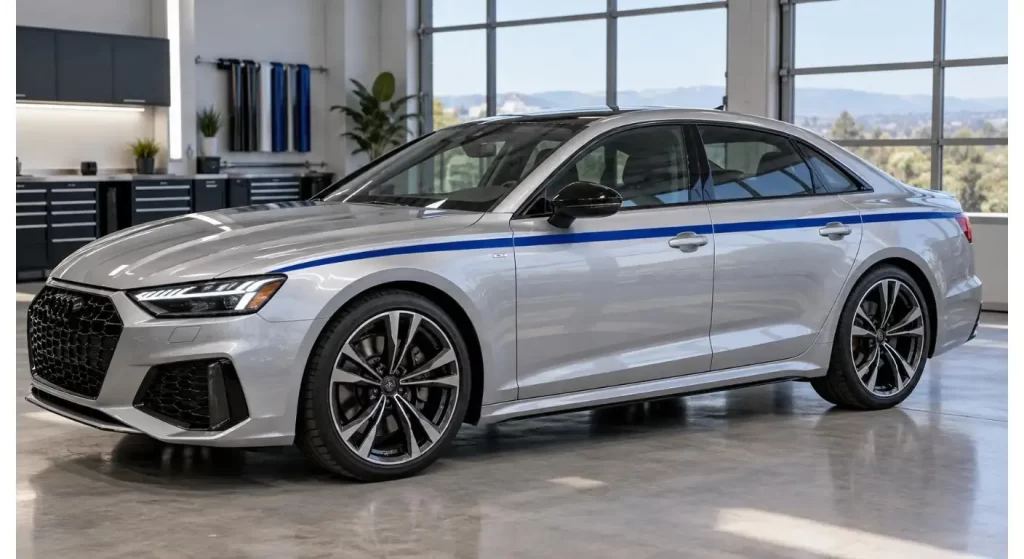
Learn how to create a hierarchy of color and finish.
Start with a stand-out colour or surface. Only include a second element if it enhances the primary element. For instance, a deep green body with a black roof can have a very defined hierarchy and green, gold, carbon texture and a bright stripe might clash with each other.
Look at elements around the vehicle such as the wheels, glass, interior and lights. Gloss makes reflections really noticeable; satin helps to tone down the shine; metallic finishes shift depending on the light. HEY FILM's Vinyl Wrap range is a good starting point to available finishes, a physical sample is still the key to approval.
Test the combination of finishes if the design includes a combination of finishes instead of testing each swatch individually. Sometimes the difference between two blacks with different sheens can help produce a subtle contrast in daylight, but disappear in the shade. Indicate what the film should be on each panel, otherwise the installer must guess what they mean based on a rendering.
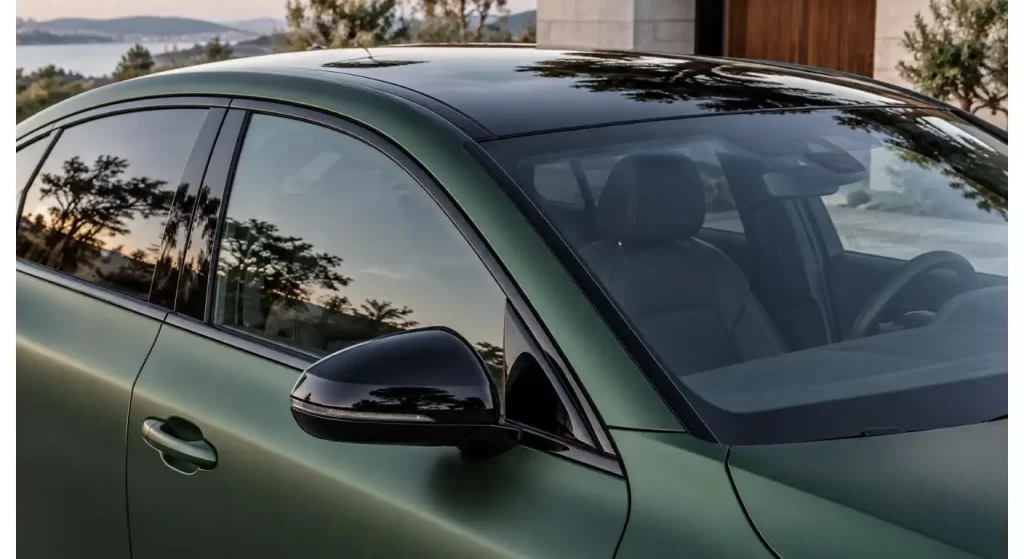
Decide on a Full Coverage vs. a Focused Accent.
The entire color change of the automobile will bring a new image to the vehicle, especially for large panel areas that receive the same color finish. It also involves choices as to where visible returns and door openings will be and where original paint may be revealed. The questions of full car vinyl wrap coverage are explained in HEY FILM's complete car vinyl wrap guide.
A strong result can be accomplished using fewer accent elements in the focused accent. It can be a roof, mirrors, hood detail or even the lower side section that shows off the existing proportions without altering all of the different panels. In this car roof vinyl wrap guide, HEY FILM demonstrates one of the design decisions made and the real-world exposure of this panel.
Consider design at a normal viewing distance. A good concept should be a whole-car silhouette, and it should pay off on closer scrutiny.
When creating graphics, make sure they are readable, both from the right distance, and from the proper distance.
If using a graphic wrap, determine what information needs to be known first. When the car is in motion or parked among other cars, a brand name or service category must be legible on a commercial car. Avoid placing critical information on a door handle, wheel arch or panel gap.
The same rule makes for a clearer visual presentation when it's your own design. One discernible direction of a pattern typically is more readable than a number of small pattern elements. Provide quiet spaces for the eye to rest and lines of the body to be visible.
Examine each side individually. They aren't an exact match—for example, the position of fuel doors, handles, sliding doors and trim may alter the placement of a graphic. Check the back too since it is likely the longest view that other drivers will have of you. But these less glamorous angles aren't considered until a design is complete.
Accept Realistic Mockup and Material Sample.
Request a mock-up – with pictures of the planned vehicle and not just a car shape template. Check views of the sun and the shade, if at all possible. Inspect panel joints, graphic scale, wheel colour, and graphic design with door open. The mockup should not just show you the approximate colour of the finish on the screen, it should show you what you want to use.
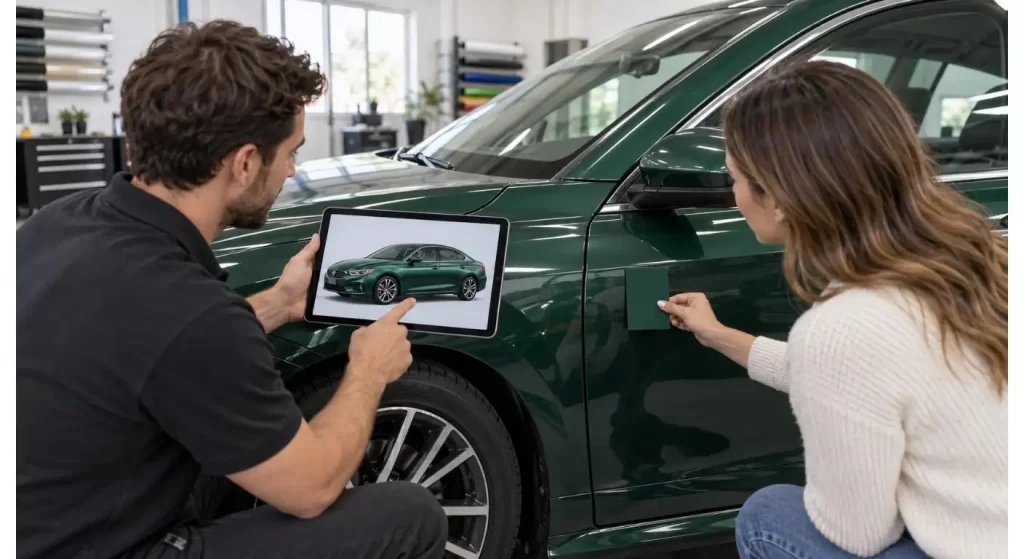
Acceptance of physical samples of the film along with the digital design. If the film is metallic or directional, be sure to record the direction of the film from one panel to another. Check for seam placement and if a complicated graphic is to be printed, put together with coloured films or be made simpler to fit the shape.
| Design Decision | Approved Choice | Evidence to Keep |
| Main visual goal | ______ | Reference image |
| Dominant color and finish | ______ | Physical film sample |
| Secondary accent | ______ | Marked vehicle mockup |
| Visible graphic or seam locations | ______ | Front, rear, and side views |
| Open-door appearance | ______ | Door-open mockup |
| Final approved version | ______ | Dated artwork file |
Prior to the start of installation, record the approved version. Changes made during production, verbally, can result in discrepancies between the designer's, the installer's and the owner's expectations. One reference for final inspection is a dated mockup, sample code and coverage notes.
Follow up to the Design After It Leaves the Screen.
Walk around the finished-up car at the same distances that you walked to evaluate the mockup. Check for uniformity in color, intentional color shifts, and a front, side and rear perspective. If the panel has lettering verify that it is legible and that there are no hardware or gap in panel breaks.
Maintain film name, color codes and artwork files. Later, a bumper or a door may have to be replaced and it would be much more convenient to replace it with a copy of the original design and material, if it were known. Inquire about the practicality of the selected finish – how the installer would like it cleaned.
Conclusion
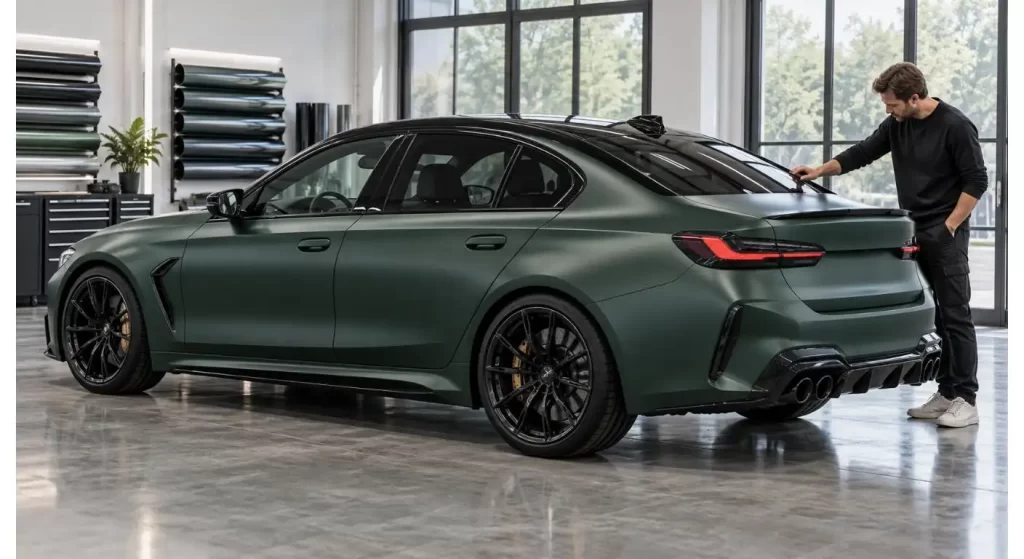
Car wrap designs that are successful relate an idea to the actual car. Start with a single visual objective, create a design hierarchy and design from all viewpoints. The realistic mock-up and physical samples will help to inspire a vehicle that still looks like a vehicle on a regular day.
FAQs
Q1. For a design that will be noticeable should I use a full wrap?
No. You can alter the vehicle's look by adding on a roof or a side accent without having to add a new roof or side panel.
Q2. Will the design be the same as its digital mockup?
No screen can duplicate all lighting effects and none of the film finishes. Acceptance of physical samples and inspection of actual car.
Q3. Are there any gaps (dimmers, door handles) that a graphic can't cross?
It could, but some of those can intrude on the image. See how they're set up in pictures of the actual car.
Q4. If a layout is used on both sides, should it be the same or different?
Maintain the visual concept, but modify each side to fit into their respective handle, fuel door and panel.
Q5. So, which files should I retain post-installation?
Retain approved Mockup, Artwork, Film Codes, Coverage Notes. They assist in subsequent repairs.