


Hot Tags
Car Wrap Installation: How to Control Each Stage of the Job
October 15, 2026


A wrap may appear to be great when a vehicle hits the showroom and actually start raising up within a recess days later. That could have been done already, for example by residue under an edge, a panel installed under too much tension or a bumper that was treated as a flat door.
When it comes to car wrapping for a wrap shop it's decisions that are taken along the way from intake to handover. In this guide, the emphasis is on a vinyl color-change project and the checkpoints that minimize rework that can be avoided.
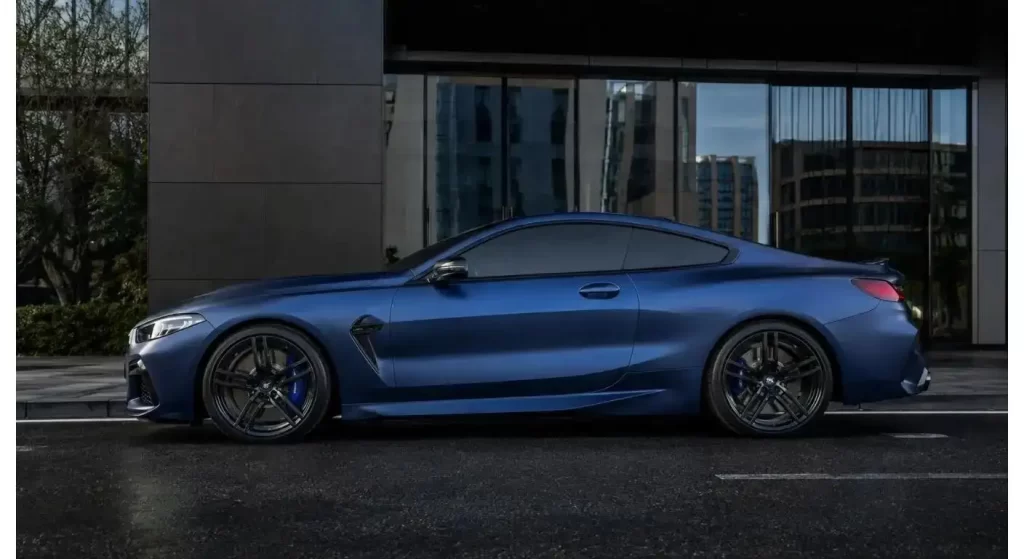
Prior to moving the vehicle to the inside, state what the job is.
Reaffirm customer's expectations for the finished work product. One customer might consider “full wrap” to be painted panels only on the exterior, while another customer might think “full wrap” means door jambs, visible returns, mirrors and/or trim. Make sure that everyone agrees on coverage, finish, seams and any original color before cutting film.
Do a walk around with the customer. Take photos of any scratches, chips, peeling clear coat and repaired panels. If it is in doubt follow the paint or film manufacturer's instructions prior to putting on adhesive. Vinyl will conform to the surface underneath and will not fix it into a smooth surface.
Plan what the shape of the vehicle will be. The extensive coverage of a whole car job is detailed in HEY FILM's full car vinyl wrap guide, but the extent of coverage will need to be negotiated on a case-by-case basis for each vehicle.
Clean the Surface to be Contacted by the Film.
Clean and sanitize the vehicle and focus on the areas that need to be covered with panel gaps, badges, mouldings, handles and the back of edges. Adhesion can also be compromised by waxing or polishing, silicone, and road dirt.
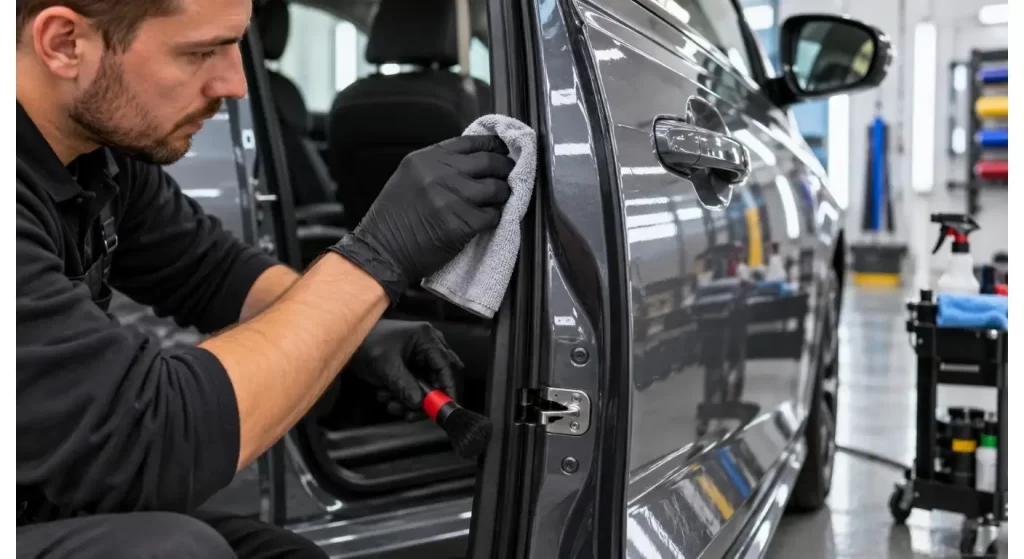
Check using proper lighting after cleaning. Use a clean cloth and run it along the intended cuts and see if dirt still sticks to the cloth. An unsoiled door skin is not an indicator that its edges are ready.
Make any part removal planning prior to applying the film. While disassembling a component can help access, time is required and there is a risk of damage occurring. When the visible panel and areas where the panel is to be finished are prepared, the preparation is complete.
| Hold Point | Record | Release to Next Stage When |
| Vehicle intake | Paint concerns and agreed coverage | Scope is confirmed |
| Surface preparation | Residue or moisture found at edges | Panels and edges are clean and dry |
| Panel layout | Film direction and seam locations | Layout is approved |
| Difficult-area trial | Recess and edge behavior | Method can be repeated |
| Final inspection | Defects and corrections | Work meets the agreed scope |
PlanPanels, Seams, FilmDirection
Take measurements of each section and provide for positioning and edge treatment. Indicate the direction of directionality of metallic and/or textured film before cutting out several pieces. Although adjacent panels with the same color code may look mismatched because of the different installation directions.
Select seams for looks and strength. An uninterrupted piece can be pleasing on a simple recess, but may be cramped into a difficult recess, creating concentrated tension. A second piece is planned which may provide a more consistent performance on some bumpers. If any seams are showing, discuss with the customer prior to installing.
Carefully read the directions for use for the specific film. The process for many vehicle vinyl wraps is a dry application, while PPF's process is often a wet application and the process cannot be interchanged. HEY FILM's PPF and vinyl wrap installation guide describes the various material behaviours. Apply the limits of the temperature, stretching, and heating recommended for the film being used on the vehicle.
Place the Film and then apply firm pressure.
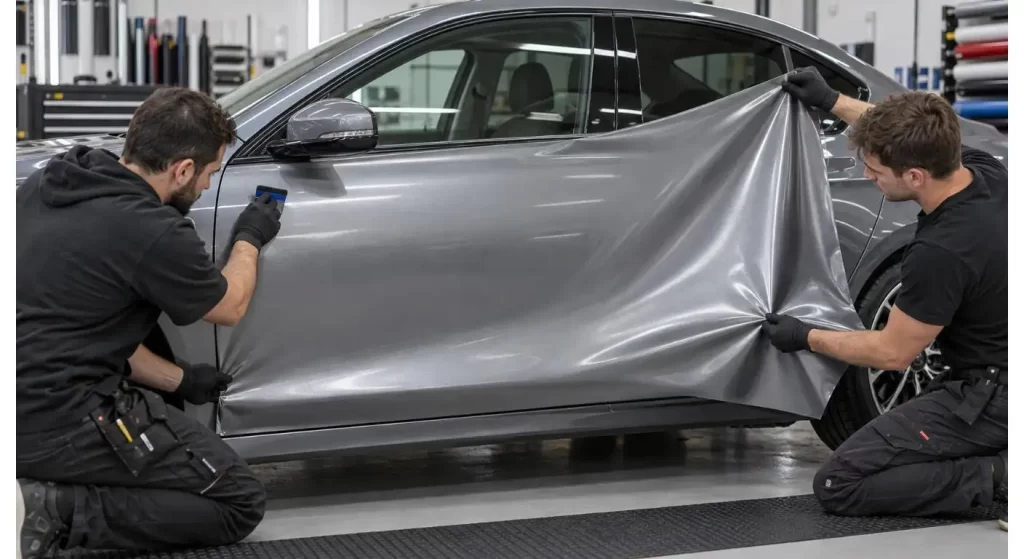
Always press down a panel with a manageable part first and set the position before pressing it down. Align to body lines, neighbouring panels and finishing lines. If the sheet is lost, raise it and move it back and forth, as long as there is time for it to be corrected.
Use a suitable squeegee to progressively work the air out, using controlled pressure. Do not try to fold down every defect, stop when you see a particle, fold or a crease. An air-release adhesive is good during application, but will not eliminate contamination or eliminate a film that has folded on itself.
Maintain tension through approaching a curve. Heat may assist it in conforming, but it is never a good idea to force one piece into all shapes. Stop if there is any noticeable change of color, gloss or texture in the stretched area.
Bumpers and Recesses are considered separate tasks.
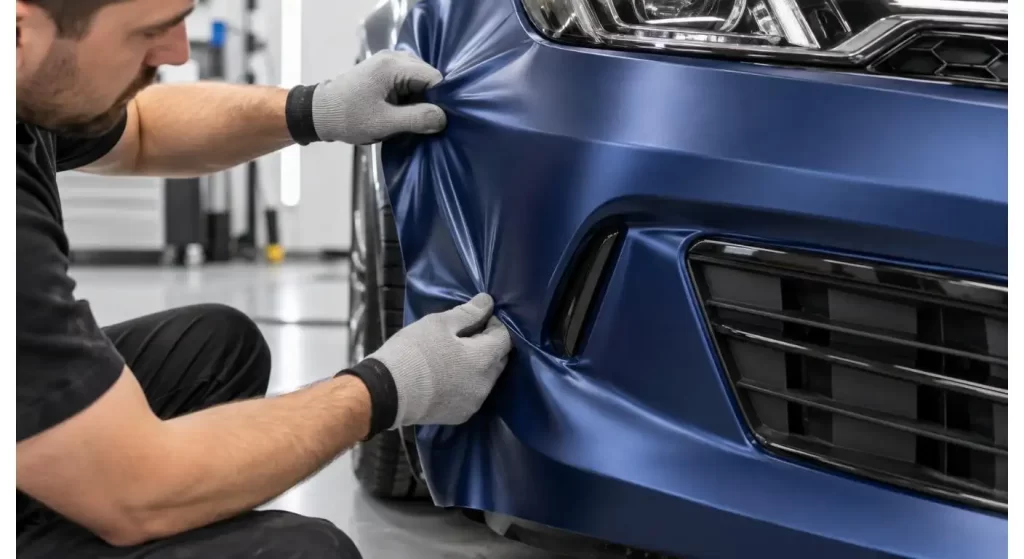
Complex bumpers include openings, curves and sudden changes of direction. Draw a line on the part prior to laying film showing the part where the sheet of film will have free movement and where the tension will be. Think about if it is a better idea to use a piece or planned seam than to stretch one sheet into all openings.
Take steps when going into deep handle recesses or into tight corners. While positioning the film, support it and let go of any tension if it can be avoided and then study the surface from multiple angles. A wrinkle, concealed while painting, can show through after painting the rest of the panel.
Check each challenging spot first before going to the next. If an edge is drawing back, fix it if possible; if the part can be reached. The site's material on glossy vinyl wrap is particularly applicable when the stretch (or lack of stretch) causes variations in reflections to be more noticeable.
Complete Edges and Follow Film Instructions
Take care to trim with the painted surface in mind. Select the method of cutting approved by the shop and allow for the finish on the edge to be selected. Not only should the film be neat and visible on the edge, but it should be secure and won't be tight enough to keep itself in place.
Make sure all edges are clean and dry prior to pressing down. Pay special attention to wheel openings, bumper returns, door edges and recesses. If the manufacturer's instructions include post-heating, do so following the manufacturer's procedure and ensure that treated areas are checked.
Carefully gather and assemble parts that have been removed and check the interfaces between these and the wrap. No clip, seal or cut piece should be able to grab and pull an edge. Document any area that needs to be rechecked after the film has been stabilized as well as handover as a further quality check.
Examine and discuss Post-Care
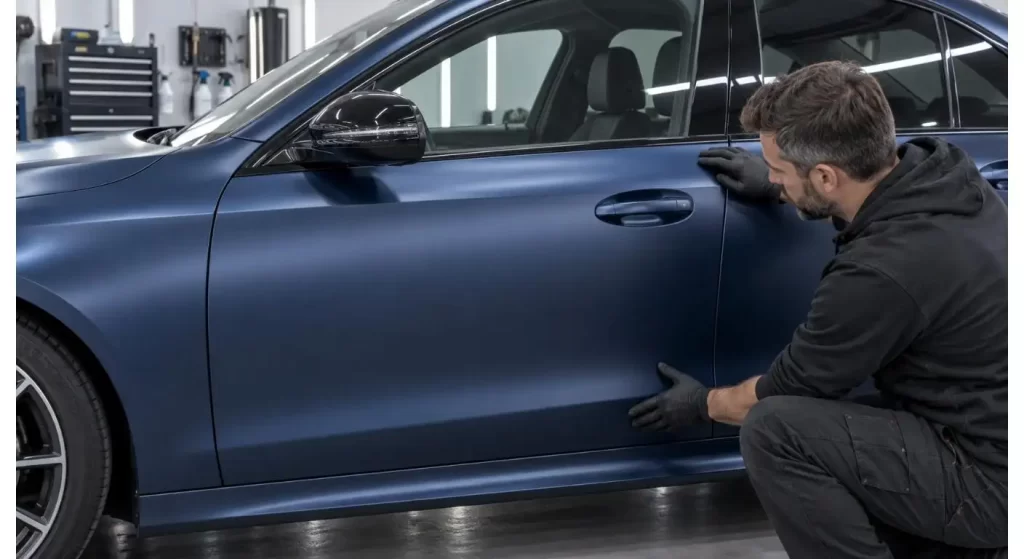
Check at 3 locations. Evaluate overall colour and panel uniformity from a distance of several steps. Check reflection, seams and alignment at arm's length. Inspect edges, recesses, contamination and stretched areas close-up. Avoid looking at a subject from the same angle, and utilise daylight, if possible.
Check against the agreed cover. Take photos of the work and make notes on series of films and colour codes for potential panel replacement. Handle an area that is not meeting the shop's standard prior to contacting the customer. If customer has approved a visible seam, ensure that the seam is in the correct location as per the plan.
When handing over the product, give information on washing and initial stabilizing period for each specific product. Discuss appropriate cleaning agents and avoiding the use of high pressure water towards an edge. Provide the customer with a means of reporting a lift or other concern, and schedule a follow up inspection if necessary.
Conclusion
Decisions prior to the squeegee are the key to a good car wrap installation. Complex panels are easier to finish with defined coverage, clean finishing areas, sensible seam placement and controlled tension. The result is backed up with documented inspection & clear handover to shop.
FAQs
Q1. Which colours can the car wrap be used for a car that has peeling paint?
Peeling (crumbling) paint is not a stable foundation for adhesive film. Evaluate and repair surface prior to wrapping.
Q2. Will there be no bubbles with an air-release adhesive?
No. It does help to air out but still the dirt, creases and wrong positioning needs to be corrected.
Q3. Would it be best to wrap each bumper in one piece?
No. Planned seam or separate section will be helpful for some shapes. Select based upon bumper and film.
Q4. Does that mean that all areas must be post-heated?
Please read the directions for the specific film. When post heating is required be cognizant of stretched and recessed areas.
Q5. What checks need to be made prior to handover?
Look at colour, seams, reflections, recesses and security of edges. Ensure coverage and discuss post care.